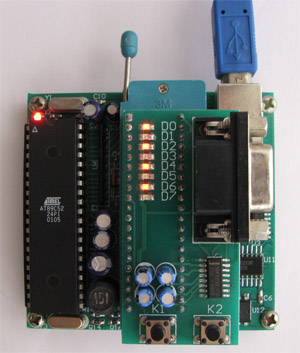
1、如何测试硬件是否正常
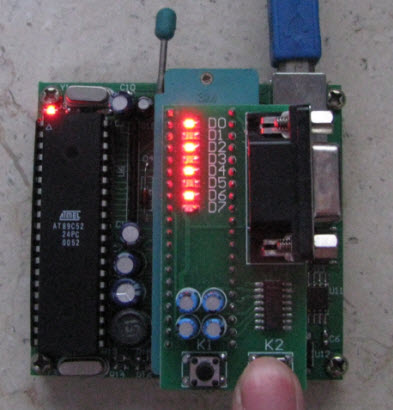
如果您拿到或自己制作了学习板,可利用我们提供的硬件测试工具测试硬件是否正常。
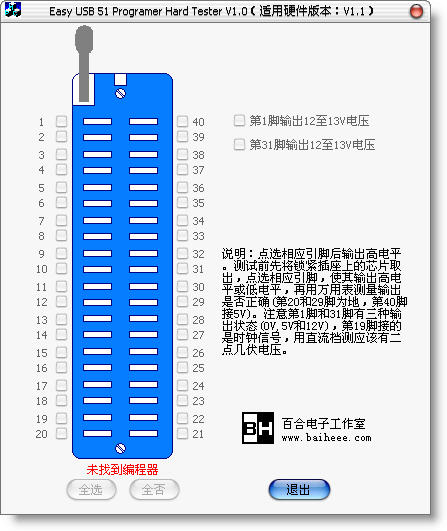
通讯部分可能有问题,提示未找到编程器
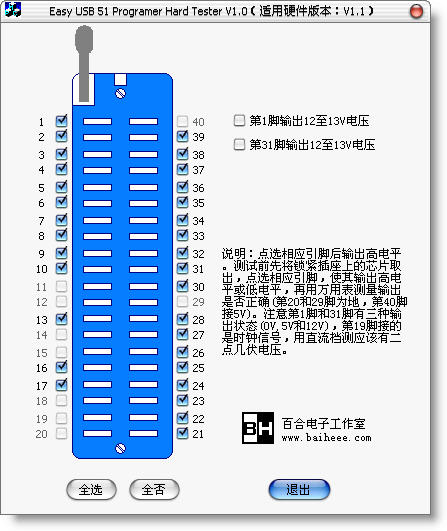
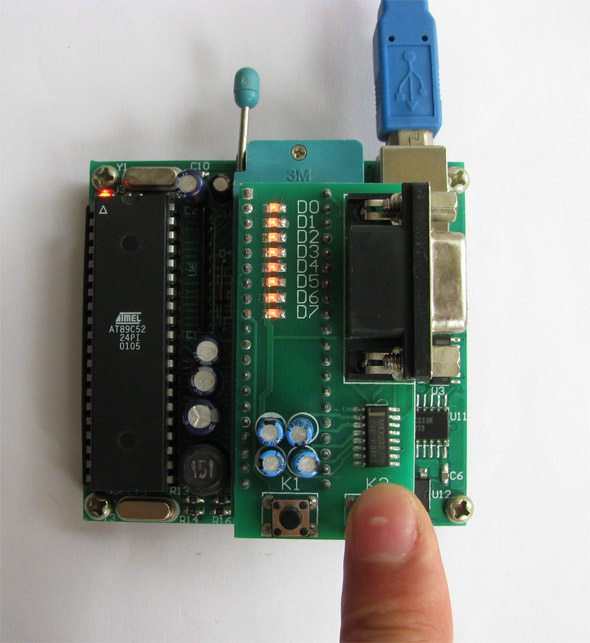
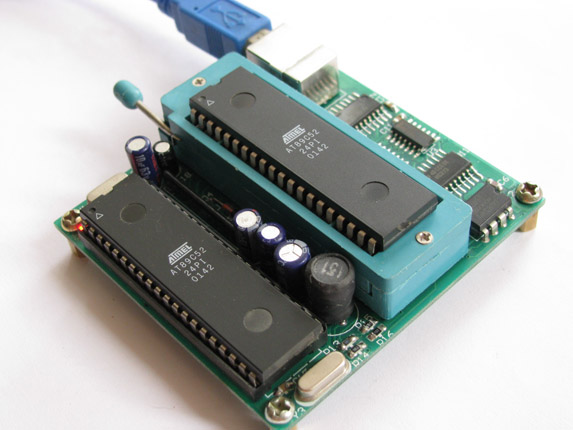
通讯部分没有问题,现在可以通过上位机控制锁紧插座上各引脚的输出状态,通过万用表对每只引脚进行测量。其中20脚和29脚为地,第1脚和第31脚有三种状态输出(0V、5V和12V,其中12V可能为11.5~13.5V之间)。
2、如何编写固件驱动程序驱动PDIUSBD12
如果固件驱动正常工作,学习板上的LED会被点亮,同时系统提示发现USB设备。
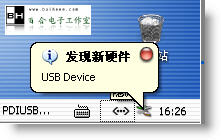
系统提示发现USB设备
3、模拟USB鼠标
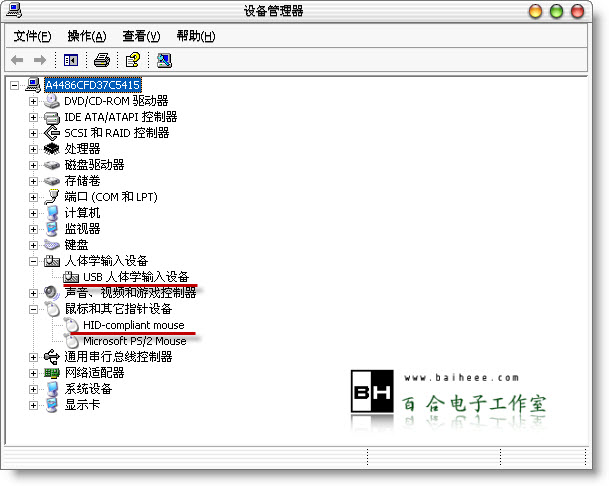
用EXT-BOARD-A的K1、K2模拟鼠标
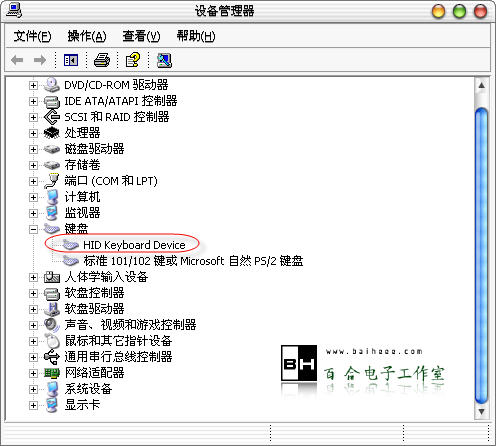
4、模拟USB键盘
5、如何编写上位机程序(VC)与USB HID设备通讯
第一步,在没有完成上位机程序的前提如何修改下位机程序?可以通过BUS HOUND作这上位机调试工具实现对下位机的读写操作。
第二步,在编写好下位机程序后,如何在VC++环境下编写上位机程序。
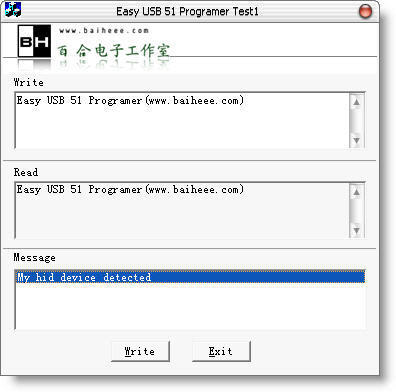
实例一,读写下位机数据

实例二,在PC端控制LED
6、基于HID接口51编程器
这是一个比较实用的功能,目前已实现对AT89C1051、AT89C2051、AT89C4051、AT89C51、 AT89C52、AT89C55、AT89LV51、AT89LV52、AT89S51、AT89S52、AT89S53、AT89S8252(目前只对AT89C4051、AT89C2051、AT89C51、AT89C52、AT89S51、AT89S52进行了测试)。
这是编译好的上位机程序:
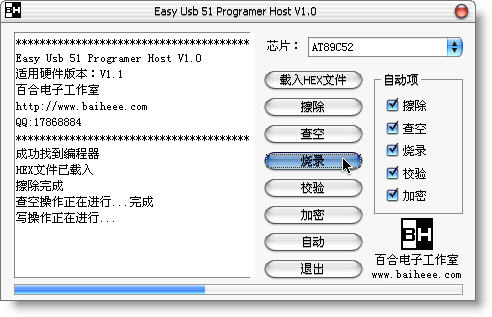
上位机程序界面
正在对AT89C52进行编程操作
7、最简单的Windows驱动程序实例HelloWdm
如何用VC+DDK+DrvierStudio编写一个最简单的Windows驱动程序

8、如何编写Windows驱动程序来驱动学习板
讲解如何用如何用VC+DDK+DrvierStudio编写一个Windows驱动程序来驱动学习板

9、如何对Windows驱动程序的读写功能进行测试

可以利用Bus Hound进行测试

用DriverStudio自动生成的测试程序进行测试
10、Windows驱动程序应用提高-控制LED及读取按键状态(包括应用程序的编写)
通过此实例讲解如何实现自定义设备,包括下位机固件、上位机驱动程序以及相应应用程序的编写

应用程序界面